Installation
1 Gen TSO Installation
You can install Gen TSO from PyPI with the following command (compatible with Python3.9+):
pip install gen_tsoNow you are ready to launch the Gen TSO application. You can do that with this prompt command:
tsoIf this is your first time or see any warnings, you may need to look at the Pandeia installation section below
If you find Numpy compilation issues when instaling gen_tso, it’s better to install into a freshly new virtual environment, particularly since the new Numpy2 is incompatible with many older installed packages.
2 Pandeia Engine
To use pandeia you need to download some files as per their documentation.
2.1 Reference data
If you don’t have it yet, download the latest pandeia reference data, unzip it, and place it in the folder pointed by $pandeia_refdata. Here’s the current latest version: https://stsci.box.com/v/pandeia-refdata-v2025p7-jwst
If this is your first time using pandeia, you likely need to setup a $pandeia_refdata environment variable (e.g., in your ~/.bashrc, ~/.bash_profile, or whichever bash file your machine uses).
Then you will need to start a new prompt terminal or source your bash file, e.g.:
source ~/.bashrcYou should end up with something like this:
echo $pandeia_refdata
/home/USERNAME/data/pandeia_data-2025.7-jwst
2.2 Atlases data
Pandeia also needs some stellar and throughput files to simulate exoplanet spectra. Use one of the options below to stay up to date:
Use this prompt command to automatically check and upload the required atlases
tso --update_dbIf this is your first time using pandeia, you likely need to setup a synphot $PYSYN_CDBS environment variable (e.g., in your ~/.bashrc file) pointing to the trds directory (see below).
Then, download these reference files (e.g., with the wget command below) and place them inside the folder pointed by $PYSYN_CDBS (make sure to keep the trds/... folder structure of the downloaded files):
wget https://archive.stsci.edu/hlsps/reference-atlases/hlsp_reference-atlases_hst_multi_kurucz-1993-atlas_multi_v2_synphot4.tar
wget https://archive.stsci.edu/hlsps/reference-atlases/hlsp_reference-atlases_hst_multi_pheonix-models_multi_v3_synphot5.tar
wget https://archive.stsci.edu/hlsps/reference-atlases/hlsp_reference-atlases_hst_multi_everything_multi_v16_sed.tar
wget https://archive.stsci.edu/hlsps/reference-atlases/hlsp_reference-atlases_hst_multi_other-spectra_multi_v2_sed.tar
For the BT-Settl spectra you will need to move the files, something like this:
mv grp/redcat/trds/source/ grp/redcat/trds/grid/phoenixBTS11_15/If everything went right, then you should see something similar to this:
# (remember to source your bash file or start a new prompt terminal)
echo $PYSYN_CDBS
/home/USERNAME/data/pysynphot/trds

ls $PYSYN_CDBS
calspec  comp  grid  mtab
3 NASA Exoplanet Archive (optional)
Gen TSO is updated regularly to ensure that the exoplanet database remains mostly up to date. But if you want to update the planet data up to the current date, you can run this prompt command:
tso --update_exo4 JWST TSO programs (optional)
Gen TSO can also download the current set of JWST TSO programs from STScI into a convenient database. For this you need to have installed the APT and save its executable to an eviromental variable called APT (see this tutorial). This can be done with the you can run this prompt command:
tso --update_programsCheck out this tutorial to see how to handle the programs database after fetching it.
Live status check
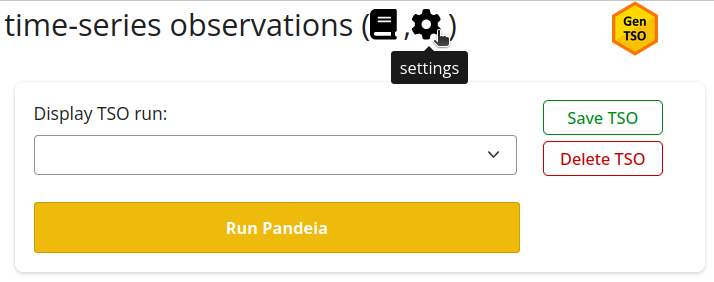
While you are running the Gen TSO application, click on this gear icon at the top right of the screen:

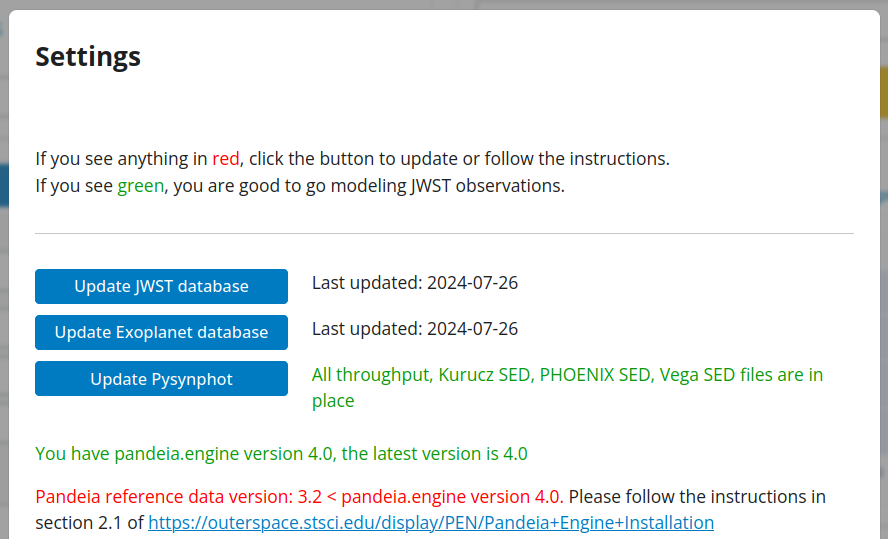
This will pop up a more detailed panel indicating whether any database needs to be updated (and if needed, it will give you the instructions to do so):

